Logged in user details in SPFx
Last year I wrote a post about a webpart that I developed during a hackathon I attended. In that post I said I would go into some of the details of the webpart. So here we are 6 months later, looking back at that webpart.
Just to remind you what it looked like. Here is the webpart on a default SharePoint Team site homepage.
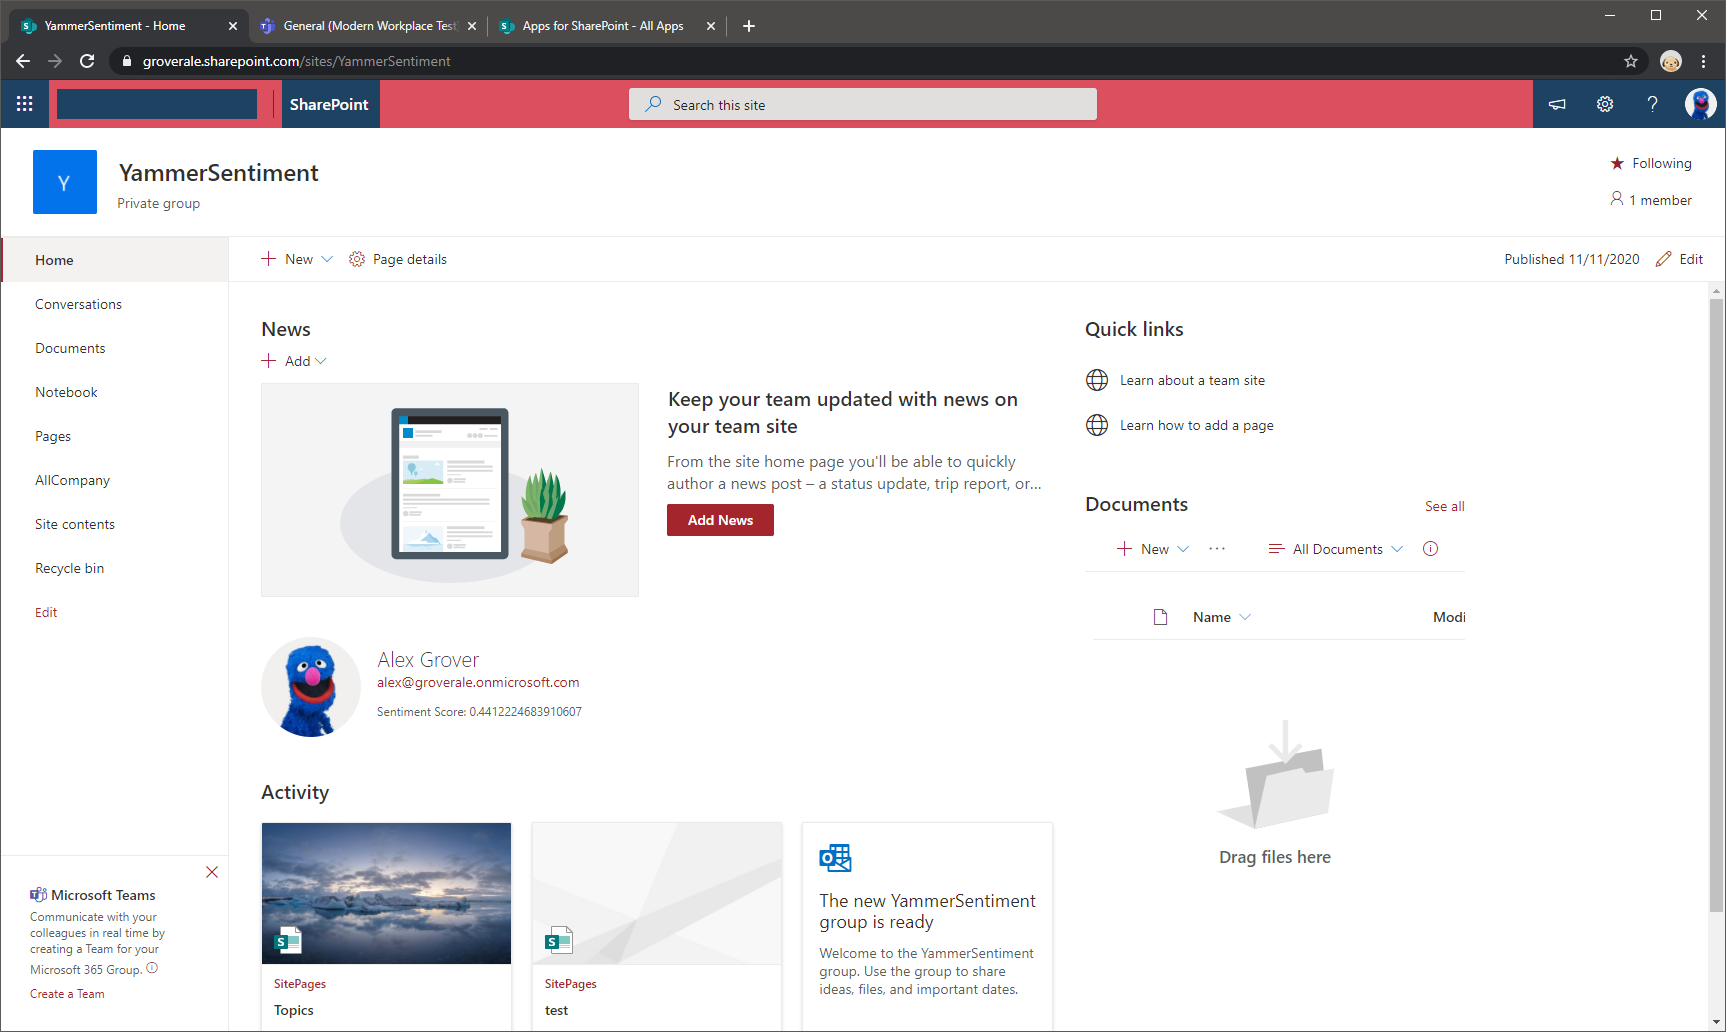
Looks quite nice, on brand, very Microsoft. I always try to get anything I develop to look as native as possible. That way you don’t have to spend loads of time designing colour pallets, fonts, shadows etc. All that creative stuff is best left to the creatives :)
Office UI Fabric
For us SharePoint developers it’s made very straightforward with the Office UI Fabric. There are some great docs that show you how to make use of the Office UI Fabric react components in your SPFx applications and webparts.
I think the best way to find what you need is to browse the available react components. The component site has tons of example configurations with code snippets which makes it even quicker to get going.
For my webpart I went with the Persona component. The Persona component gives you three fields to add text to.
The below snippet is taken from the main render method in my webpart. Which is actually the entire UI for my webpart. Nice.
 <Persona
    primaryText={this.state.name}
    secondaryText={this.state.email}
    onRenderSecondaryText={this._renderMail}
    tertiaryText={this.state.sentiment}
    onRenderTertiaryText={this._renderSentiment}
    imageUrl={this.state.image}
    size={PersonaSize.size100} />
Microsoft Graph in SPFx
I decided to use the Microsoft Graph to get the image, display name and email address for my Persona component. This way I wouldn’t need to worry about additional permission scopes as when you request an access token for the Microsoft Graph, you get a token with the user_impersonation permission scope. This is the User.Read.All permission which will enable me to read the data I need.
Again there is some great Microsoft docs that explain everything you need to start using the Microsoft Graph in your SPFx applications.
Inside the componentDidMount method of my GraphPersona component I call two endpoints
// Fetch the display name and email
this.props.graphClient
    .api('me')
    .get((error: any, user: MicrosoftGraph.User, rawResponse?: any) => {
    this.setState({
        name: user.displayName,
        email: user.mail,
    });
});

// Fetch the image
this.props.graphClient
    .api('/me/photo/$value')
    .responseType('blob')
    .get((err: any, photoResponse: any, rawResponse: any) => {
        const blobUrl = window.URL.createObjectURL(photoResponse);
        this.setState({ image: blobUrl });
});
Call SharePoint Rest APIs from SPFx
The final bit of information the webpart needs is the sentiment. This is stored in a SharePoint list, at first this seemed simple enough. Grab all the items, and work out the average sentiment. For me this would have worked, as in my dev environment I am the only user. However, in the real world, this list could contain details of 1000s of posts from 100s of users.
I needed a fancy odata query to ensure I was being as efficient as possible. I only wanted to retrieve items from the list that were relevant to the logged in user. As my list had a Person or Group field i would be able to use the login name to filter my results. This is what I ended up with.
let userToken = `i:0#.f|membership|${this.props.spfxContext.pageContext.user.loginName}`;
let webUrl = "https://groverale.sharepoint.com/sites/YammerSentiment"

// important thing is in the odata filter
let requestUrl = `${webUrl}/_api/web/Lists/GetByTitle('AllCompany')/items?$filter=PostedBy/Name eq '${encodeURIComponent(userToken)}'`

this.props.spfxContext.spHttpClient.get(requestUrl, SPHttpClient.configurations.v1)
.then((response: SPHttpClientResponse) => {
    if (response.ok) {
        response.json().then((responseJSON) => {
            if (responseJSON!=null && responseJSON.value!=null){
                let itemCount:number = parseInt(responseJSON.value.length.toString());
                //let itemCount:number = 0
                let totalScore:number = 0
                responseJSON.value.forEach(element => {

                    totalScore += element.Score
                });
                let sentiment:number = totalScore / itemCount

                this.setState({ sentiment: "Sentiment Score: " + sentiment.toString() });
            }
        });
    }
}
There is a great blog post by Ram Prasad that goes into more detail filtering SharePoint lists using the current logged-in user. I recommend giving it a read.
Last word
I knocked this webpart together in a few hours, it’s not the cleanest but it works and that’s the main thing. Apologies if I left something unexplained please feel free to reach out if you have any trouble using it or want to know anything more.
Heres the link to the repo.